Plugins
Mautic - Microsoft Dynamics CRM bi-directional plugin
This plugin can push/pull contacts to and from Dynamics CRM when a contact makes some action and when manually executing the sync leads command.
If you don't have a Dynamics CRM account, follow the instructions below to create a Trial Dynamics 365 account.
Configure the Dynamics CRM plugin
-
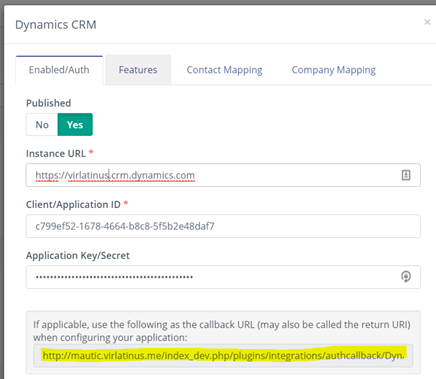
Insert your Dynamics CRM URL, the Application ID and Secret into the Mautic Dynamics integration plugin and authorize it. Set the Publish switch to Yes. Save.

-
Select the features you like in the Features tab. Push contacts to this integration checkbox is checked by default.
-
Configure the field mapping.
-
Save the plugin configuration.
Set Up Dynamics 365
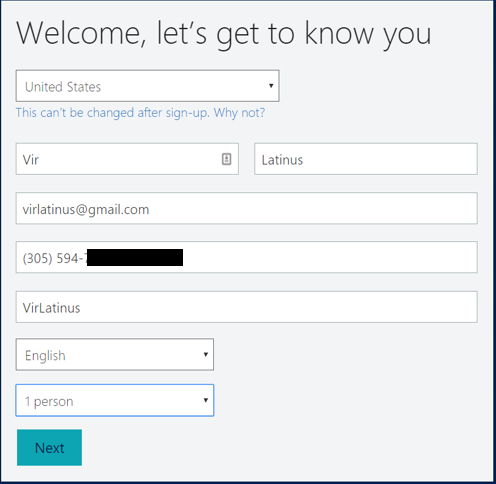
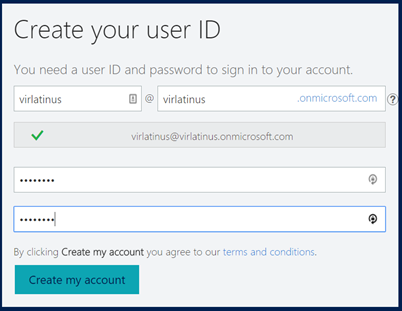
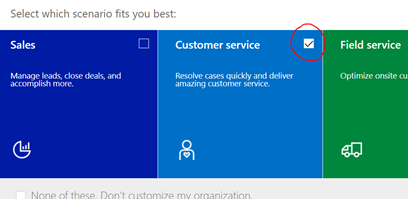
How to create a Dynamics 365 Trial account
- Go to the Dynamics 365 Trial website


Set Up Azure
-
Go to the Azure Portal
-
Log in with your onmicrosoft.com account
-
Go to Azure Active Directory
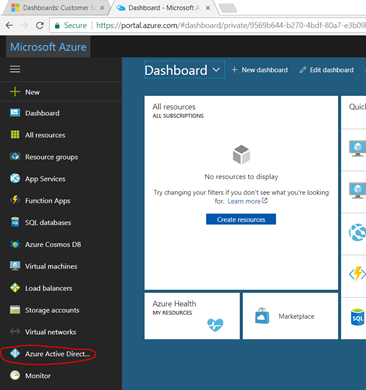
-
Add a new Application Registration
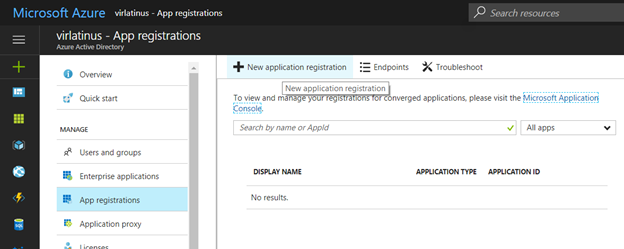
-
Fill in the CRM Application information
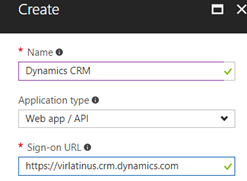
-
Click on Create
-
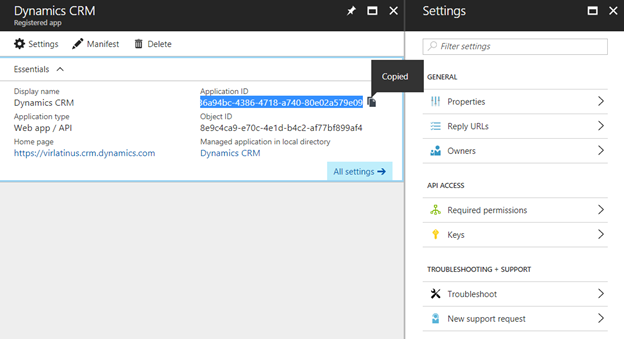
Click on the Application you just created
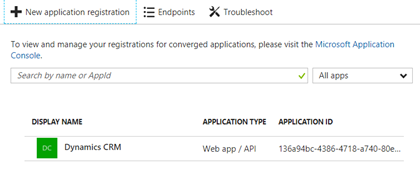
-
You will use the Application ID when configuring the plugin in Mautic
-
Add a new Key. Use any name, click on save and copy the value. You will use it as the plugin secret in Mautic.
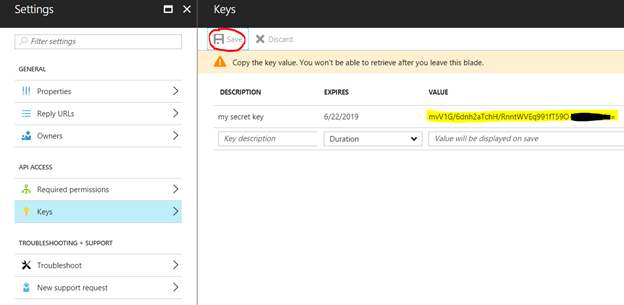
-
Configure the reply URLs using the callbacks from the plugin settings in Mautic. Click Save
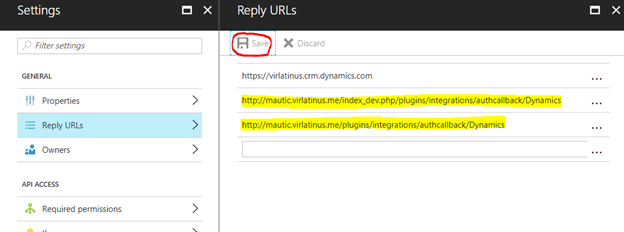
-
Configure the Required Permissions. Click on Add
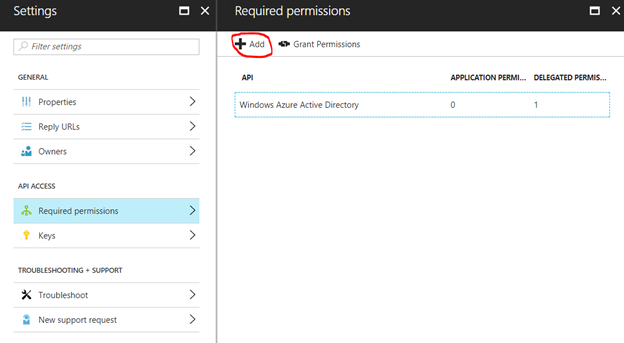
-
Add Dynamics CRM Online Api Access. Click Select
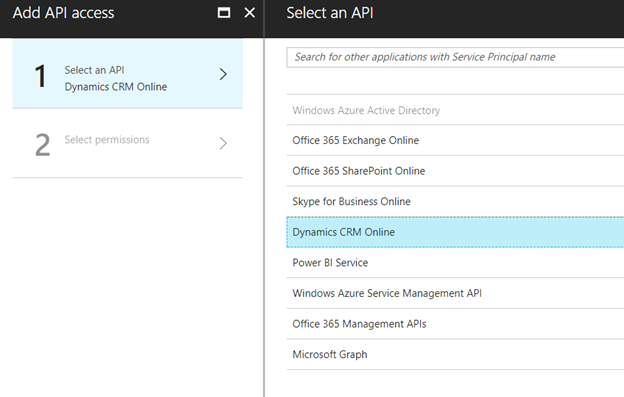
-
Enable Dynamics CRM access for the users. Click Select and then click Done
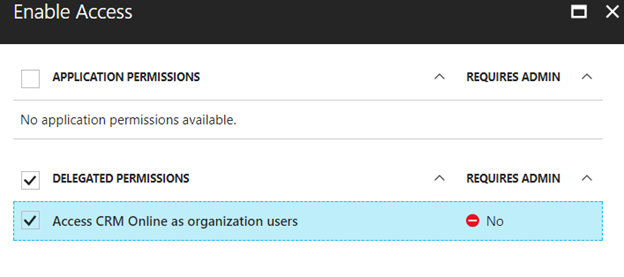
-
Activate the permissions by clicking "Grant Permissions". Click Yes
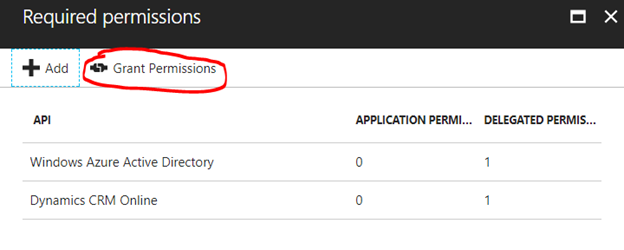
-
Go back to Mautic
-
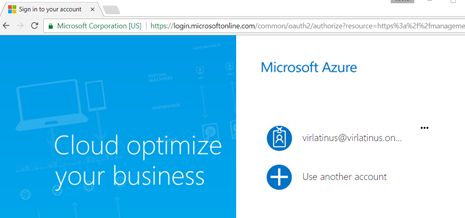
Authorize the plugin
-
Use your onmicrosoft.com account to authenticate:
Test the plugin
Follow these steps to test the integration.
- The plugin is ready. You can test using "Push to Integration" form and campaign actions.
- You can also test by executing the command:
php app/console mautic:integration:fetchleads -i Dynamics